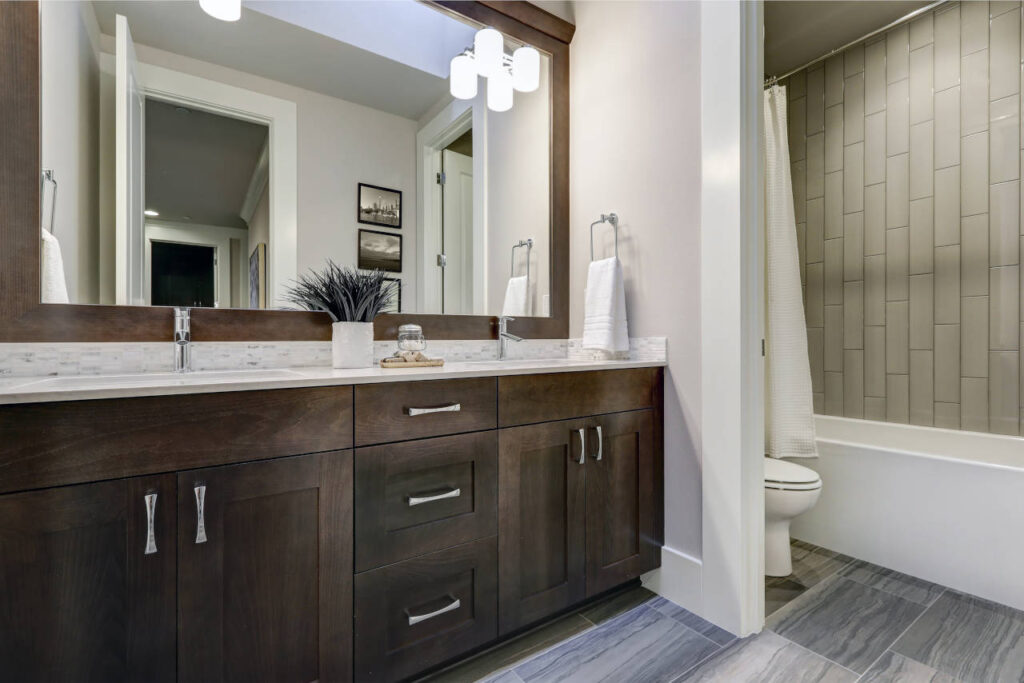
Replacing & Installing New Bathroom Vanities In 2022!

Bathroom renovations provide one of the finest returns on your investment. Replacing the vanity, countertop, sink, and faucet is among the simplest methods to modernize your bathroom.
The bathroom vanities are replaced, and installation is long-term and should last for years. It would be best if you looked for only quality products to ensure that they serve your renovation purpose and are all worth the investment.
Step-by-Step Guide for Replacing & Installing Bathroom Vanities!
Let’s look at the steps below that will help you replace and install vanities like a PRO!
- Identify the Wall Studs
Find at least one wall stud using an electronic stud finder at the back of the vanity. Mark the stud’s middle. If feasible, repeat the procedure to locate a second stud.
- Install and secure the vanity
Measure the vanity cabinet’s height (excluding the countertop) and add this measurement to the rear wall. At the indicated size, create a straight line using a level. Put the vanity cabinet in its proper place. Utilizing the line you established, check the cabinet’s status from the front to the rear and side to side.
To level the cabinet, if required, slide some wood shims beneath it. Two 3-inch cabinet screws specially used for this purpose must be inserted into each wall stud in the rear wall and through the mounting strip to anchor the cabinet to the border from the rear.
- Filling the Side Gaps
You can cut a thin filler strip to close gaps between the sidewall and the cabinet if they are large or unwelcome. To do this, the filler strip might need to be shaped to go around a baseboard or a tile piece with a cove at the grounds of the cabinet.
To achieve this, “copy” the outline of the side wall onto the wood strip using a tiny outline gauge or carpenter’s compass. Screws inserted into the edge of the filler strip and the inner edge of the cabinet face frame are used to fasten the strip to the cabinet.
- Integrate with the Sidewall and Set up the Vanity Top
Ensure the drywall screw is elongated enough to encompass at least one inch into the stud before driving it into the wall at the stud’s position and through the cabinet side.
Install the sink to the countertop before putting the countertop on the vanity if the sink is independent of the washstand rather than an incorporated part. By doing this, you may tighten up the cabinet side against your shims and spacing blocks. Following the manufacturer’s instructions, install the valve and duct fittings.
- Install the Plumbing and Seal all Joints
Following the manufacturer’s instructions, attach the water supply lines to the valve, branch duct, and wash basin duct to the duct trap. Where the washstand touches the wall, exert a bead of silicone caulk. If a backsplash is present, caulk around any seams that meet the wall and the countertop. Before utilizing the vanity, allow the caulk to cure for 24 hours.


